How to Make a Raspberry Pi Web Server
http://www.wikihow.com/Make-a-Raspberry-Pi-Web-Server
How to Make a Raspberry Pi Web Server
Start the Raspberry Pi Operating SystemSet Up the Raspberry PiInstalling The ServerInstall MySQLInstall FTPConfigure FTPThe Finishing Touches
Edited by Zach, Tri.infinite, AnguishedEnd, June and 15 others
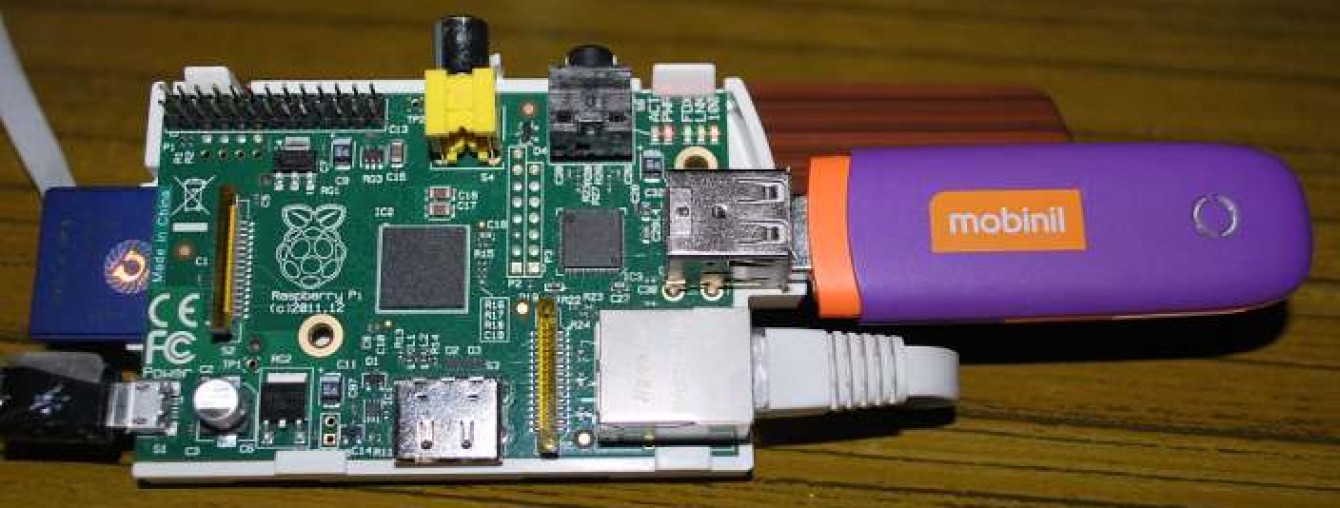
If you are looking for a way to make a cheap web server, primarily to be used as a testing environment or to store files, then the Raspberry Pi is perfect for you. What is a Raspberry Pi? It is a new inexpensive mini computer, perfect for basic functions. This guide will show you how to take a new Raspberry Pi and turn it in to a web server. Please note that for this article, we will be working in Windows for parts of it.
EditMethod 1 of 7: Start the Raspberry Pi Operating System
-
1
Obtain a copy of the Raspberry Pi OS (Operating System) from the link in the sources section. There are a few different distributions available, but for this article, we will be using the “Debian Squeeze” version.
-
2
Extract the image to the SD card. To do this, we need a tool called the Win 32 Disc Imager. A link for this is also available in the sources section. Now open the tool, navigate to the drive letter that your SD card is in, select the location of the Raspberry Pi OS image, and select burn.
-
3
Once done burning, you can place the SD card into your Raspberry Pi, then plug in the rest of the cords, being sure to plug in the mini USB last.
-
4
Once Debian finishes loading, you will need to log in. The default username is “pi”, and the default password is “raspberry”.
EditMethod 2 of 7: Set Up the Raspberry Pi
-
1
Because you are running a fresh version of Debian, you will need to do some housecleaning, updating, and installing. First, we are going to update the clock, update our sources, then upgrade any pre-installed packages. Use the following code to do this:
sudo dpkg-reconfigure tzdata
sudo apt-get update
sudo apt-get upgrade
Keep the Firmware Up To Date
-
1
Next, we want to install Hexxeh’s RPI update tool to help keep Raspberry Pi up to date. To do this, run:
sudo apt-get install ca-certificates
sudo apt-get install git-core
sudo wget http://goo.gl/1BOfJ -O /usr/bin/rpi-update && sudo chmod +x /usr/bin/rpi-update
sudo rpi-update
sudo shutdown -r now
Set Up SSH
-
1
Now, we are going to set up SSH so that we can do everything else from a different computer. To do this, first note the I.P. address of the Raspberry Pi, then run the following: Newer Packages of the Debian no longer need you to do this section.
sudo mv /boot/boot_enable_ssh.rc /boot/boot.rc
sudo shutdown -r now
-
1
You can now unplug the cords for your USB keyboard and your monitor.These are no longer necessary, as everything else will be done over SSH.
Finish the Set Up
-
1
Open up your SSH client and connect to your Raspberry Pi’s I.P. address.
-
2
For security reasons, you should change the password. Do this by running:
sudo passwd pi
-
1
You will then be prompted to enter your password, then enter it again to verify it.
EditMethod 3 of 7: Installing The Server
-
1
Here, you have two choices, Apache or Cherokee. Apache is definitely more popular, but Cherokee is much lighter. This will describe how to install them both.
Apache
-
1
To install Apache and PHP, execute the following commands:
sudo apt-get install apache2 php5 libapache2-mod-php5
-
1
If you get an installation error, run:
sudo groupadd www-data
sudo usermod -g www-data www-data
-
1
Now restart the service:
sudo service apache2 restart
-
1
Now enter the I.P. address of your Raspberry Pi into your web browser, and you should see a simple page that says “It Works!”
Cherokee
-
1
If you want to install Cherokee, because Apache is too heavy for you, run the following commands:
sudo apt-get install cherokee
-
1
- If you get an installation error, run the following command, then try to install Cherokee again.
sudo addgroup www-data
-
1
Install PHP:
sudo apt-get install php5-cgi
-
1
Now, to fix any bugs, edit the php.ini file and remove the semicolon in front ofcgi.fix_pathinfo=1.
-
1
Now restart Cherokee by executing:
/etc/init.d/cherokee restart
EditMethod 4 of 7: Install MySQL
EditMethod 5 of 7: Install FTP
EditMethod 6 of 7: Configure FTP
-
1
Edit your vsftpd.conf file, usually located at /etc/vsftpd.conf. For example use ‘sudo nano /etc/vsftpd.conf’. Change anonymous_enable=YES toanonymous_enable=NO, Uncomment local_enable=YES and write_enable=YES, then go to the bottom of the file and add force_dot_files=YES. Now save and exit the file.
-
1
Now restart vsftpd:
sudo service vsftpd restart
EditMethod 7 of 7: The Finishing Touches
-
1
Run:
sudo passwd root
-
1
Log out of your SSH session, and log back in as root. (You MUST do this)
-
1
Edit the password configuration file:
nano /etc/passwd
-
1
Find the line pi:x;1000:1000:Raspberry Pi User,,,:home/pi:/bin/bash and add a # sign to the beginning of it. Now save and exit the file.
-
1
Add the user pi as a mod.
usermod -d /var/www pi
-
1
Now exit your SSH session, and log back in as pi, then grant mod rights toroot.
sudo usermod -L root
-
1
Now exit. Your server should be up and running. You can transfer files through FTP by using your servers I.P., and connecting through port 21.
Things You’ll Need
Sources and Citations
- http://www.raspberrypi.org/downloads - Raspberry Pi OS download
- https://launchpad.net/win32-image-writer - Win 32 Disc Imager download
Article Info
Categories: Web Programming
Recent edits by: Nczempin, Matthew Miles, Abhishek
In other languages:
Italiano: Come Creare un Web Server su Raspberry Pi, Português: Como Criar um Servidor Web Raspberry Pi, Español: Cómo hacer un servidor web Raspberry Pi