Tag Archives: raspberrypi

Raspberry Pi Automatic Video Looper

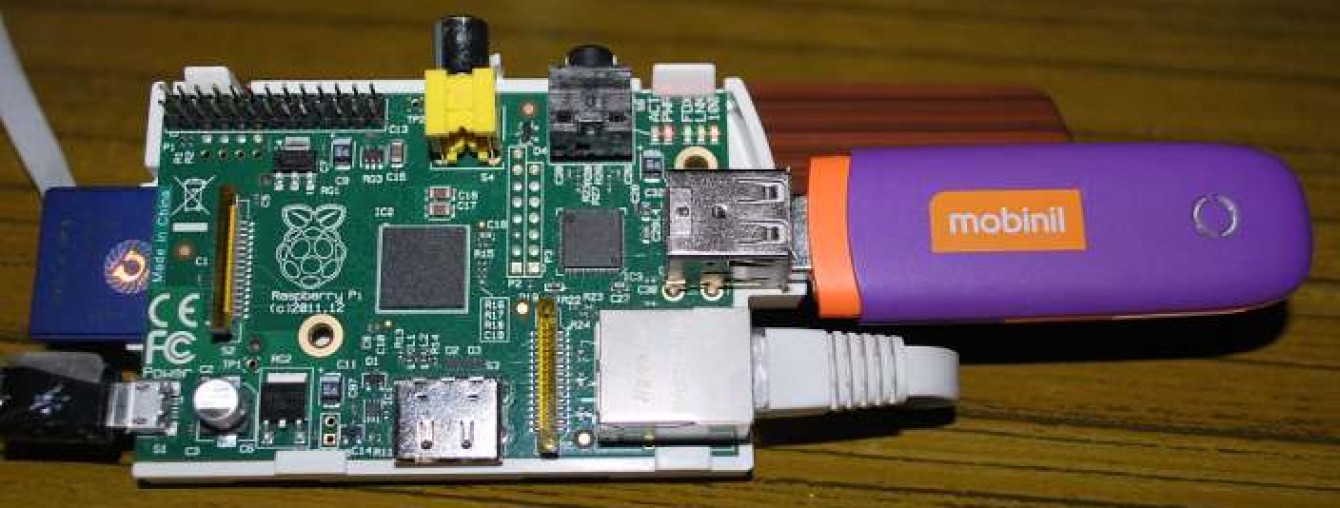
http://stevenhickson.blogspot.com/2013/09/raspberry-pi-automatic-video-looper.html Raspberry Pi Automatic Video Looper Download the image here!! Recently I helped out with an Architecture exhibition where they needed 8 projectors looping videos all at the same time. Deciding they didn’t want to pay for 8 computers and pay for the electricity for 8 computers, they contacted me to see if I could help (Pictures to come soon!). They got 8 Raspberry Pis, which together cost less than one PC and use less an energy than one PC. That’s

NOOBS Setup for Raspberrypi

https://github.com/raspberrypi/noobs/blob/master/README.md NOOBS (New Out of Box Software) An easy Operating System installer for the Raspberry Pi NOOBS is designed to make it easy to select and install operating systems for the Raspberry Pi without having to worry about manually imaging your SD card. The latest official release of NOOBS can be downloaded from http://downloads.raspberrypi.org/NOOBS_latest For information on previous releases and version changelists, visit https://github.com/raspberrypi/noobs/releases About On first boot NOOBS will format your SD card and allow you to select which OSes you

Raspberry PI kiosk mode with Chromium.

  lokir’s linux notes Raspberry PI kiosk mode with Chromium. http://lokir.wordpress.com/2012/09/16/raspberry-pi-kiosk-mode-with-chromium/ 1. Install chromium, x11-xserver-utils and unclutter sudo apt-get update && apt-get upgrade -y sudo apt-get install chromium x11-xserver-utils unclutter 2. We need to prevent screen from going blank and disable screen saver. – edit /etc/xdg/lxsession/LXDE/autostart and comment # screen saver line and add those lines: @xset s off @xset -dpms @xset s noblank @chromium –kiosk –incognito http://some.web. Done.

A simple and good looking case for our Raspberry

  A simple and good looking case for our Raspberry Veröffentlicht am 30 January 2013 von admin — Keine Kommentare ↓  http://www.raspyfi.com/a-simple-and-good-looking-case-for-our-raspberry/ One thing I knew for sure. I was not going to spend 10 euro for a nice and ready case for my raspberry pi. Certainly, I could better spend my money on, hmm let’s say 2 long islands or some fancy ouput capacitors or a P.I.L. Vinyl… So I just got prepared, and I followed what the guy behind Moebius Linux did, you can find his original

Wi-fi on Raspberry Pi, a simple guide

http://www.raspyfi.com/wi-fi-on-raspberry-pi-a-simple-guide/ Wi-fi on Raspberry Pi, a simple guide Veröffentlicht am 19 March 2013 von admin — 10 Kommentare ↓ Since the Raspberry Pi comes only with a wired network, it could be useful for lot of us to get it wi-fi ready. Wi-fi on Raspberry Pi can be achieved with little effort and at cheap expences. We do only require a compatible wi-fi dongle, and the best candidate for the job is the Edimax EW-7811Un. These are the features: Supports 150 Mbps 802.11n, so if

web kiosks and multi-user web workstations

Internet cafe Instant WebKiosk/UB, alias Unrestricted Browsing flavour, is a free operating system designed for web kiosks and multi-user web workstations (cafès, offices, schools, hotels, hospitals, libraries) on standard (even diskless) PC hardware. It is a “live” (no installation required because it boots from USB keys), browser-only (only the browser interface will show up) distribution of Linux Debian. Instant WebKiosk/UB is a fully customizable operating system for Internet browsing purposes, which protects privacy: users can modify its settings runtime but after a reset the operating system defaults to original values and users’ informations

HOW-TO:Write Python Scripts for XBMC

http://wiki.xbmc.org/index.php?title=HOW-TO:Write_Python_Scripts_for_XBMC HOW-TO:Write Python Scripts for XBMC This article was originally a copy of a python HOW-TO tutorial was prepared by Nelson Minar. The article have since then been reformatted, restructured, modified and updated several times. Contents [hide] 1 XBMC Python Scripting Tutorial 1.1 Python is not a snake 1.2 Some basic rules – be careful of the snake! 1.3 Always notice the snake behavior 1.4 the real work begins 1.4.1 Window 1.4.2 pad button 1.4.3 add (and remove) text label 1.4.4 init parameters 1.4.5 dialog box 1.4.6 buttons 1.4.7 virtual keyboard 1.4.8 Lists 1.4.9 Screen

How to Create Raspberry SD Card via Linux Command Line

http://n00blab.com/how-to-create-raspberry-pi-sd-card/ http://www.youtube.com/watch?feature=player_embedded&v=uq3-aydRMv0 This tutorial will walk you through how to create Raspberry Pi SD card via Linux command line (Ubuntu 12.04 LTS) Instructions for creating the SD card on Windows or Mac are found here Download desired image via torrent or direct download and place in your Downloads directory: http://www.raspberrypi.org/downloads   Check the hash: sha1sum ~/Downloads/2012-08-16-wheezy-raspbian.zip | grep 63d16fd28369b6e05bf97f2d1758d56df6ed0ba9 If the hash checks out, unzip: unzip ~/Downloads/2012-08-16-wheezy-raspbian.zip Insert your SD into your card reader and run: (if unsure of your computer’s

How to Make a Raspberry Pi Web Server

http://www.wikihow.com/Make-a-Raspberry-Pi-Web-Server How to Make a Raspberry Pi Web Server Start the Raspberry Pi Operating SystemSet Up the Raspberry PiInstalling The ServerInstall MySQLInstall FTPConfigure FTPThe Finishing Touches Edited by Zach, Tri.infinite, AnguishedEnd, June and 15 others If you are looking for a way to make a cheap web server, primarily to be used as a testing environment or to store files, then the Raspberry Pi is perfect for you. What is a Raspberry Pi? It is a new inexpensive mini computer, perfect for

Setting Up LIRC on the RaspberryPi

http://alexba.in/blog/2013/01/06/setting-up-lirc-on-the-raspberrypi/ Setting Up LIRC on the RaspberryPi JAN 6TH, 2013 | COMMENTS June 8th 2013 Update: I have completed a soldered circuit prototype, complete with a full parts list and high resolution build pictures. Please read Open Source Universal Remote – Parts & Picturse to learn more. March 9th 2013 Update: I have formalized the schematic and parts list that I’m using and have made it available on Upverter. Please read RaspberryPi IR Schematic for LIRC for more details. March 4th Update: I’ve written a follow up post that describes

Controlling LIRC From the Web

http://alexba.in/blog/2013/02/23/controlling-lirc-from-the-web/ Controlling LIRC From the Web FEB 23RD, 2013 | COMMENTS In this post I will cover how to create a web interface + API for LIRC, the Linux Infrared Remote Control project. I will be using NodeJS and a RaspberryPi in this post, but the ideas generalize to other languages and hardware. This post will serve as Part 3 of my open source universal remote project posts. If you haven’t had an opportunity to read the first two posts, I suggest checking

Raspberry Pi + Dropbox Sync

http://cttoronto.com/03/16/2013/raspberry-pi-dropbox-sync/ March 16, 2013 by Marc Pelland For Pi Day, we decided that it would be fun if we built a system that would auto-post photos from the Raspberry Pi to our Facebook and Twitter accounts.  We knew that it would be easier to just run all of it from the computer that was running the game, but this seemed like a good opportunity to learn something about the Raspberry Pi.  As a result, we setup a system that would save images from the webcams in Flash to

Raspberry-Pi / SMS Alarm System

https://sites.google.com/site/jfpayeur/raspberrypi Raspberry-Pi / SMS Alarm System Description Here are some information about a little Python Project I’ve made based on a Raspberry-Pi Platform. This is My first Python Project Ever, my code is not super clean, but it works great.   This system send me an SMS and/or Email if my door is open, or if the PIR (passive infrared movement detector) is triggered. This can be easily expanded to 8 or mores zones, or control something else. In my

Python Joystick Test

  Instalasi & Testing Koneksi Joystick   import pygame as p p.init() stick = p.joystick.Joystick(0) stick.init() print(“initialized:”,bool(stick.get_init())) print(stick.get_name()) while stick.get_axis(0)*100 < 399: print(round(stick.get_axis(0)*100)) #need for right detection otherwise stick.get_axis always returns 0 for event in p.event.get(): None p.quit()

Recent Entries »